WordPress comes with a functionality to add a custom logo without a need to install any additional plugins.
While WordPress has a native feature for uploading, changing, or removing a custom logo, it’s important to note that not all themes support this functionality.
At Themes Harbor, we prioritize utilizing the native WordPress features and following the platform’s coding standards in all of our professional themes for WordPress.
As a result, our themes fully support the native options for custom logos, providing a seamless experience for our users.
Upload logo
In WordPress dashboard:
- Go to Appearance → Customize to open the Customizer.
- Open Site Identity section.
- In the section, click the Select Logo button to open the Media Manager.
- Choose your logo image and then click Select.
- Click the Publish button at the top right of the Customizer to activate the logo.
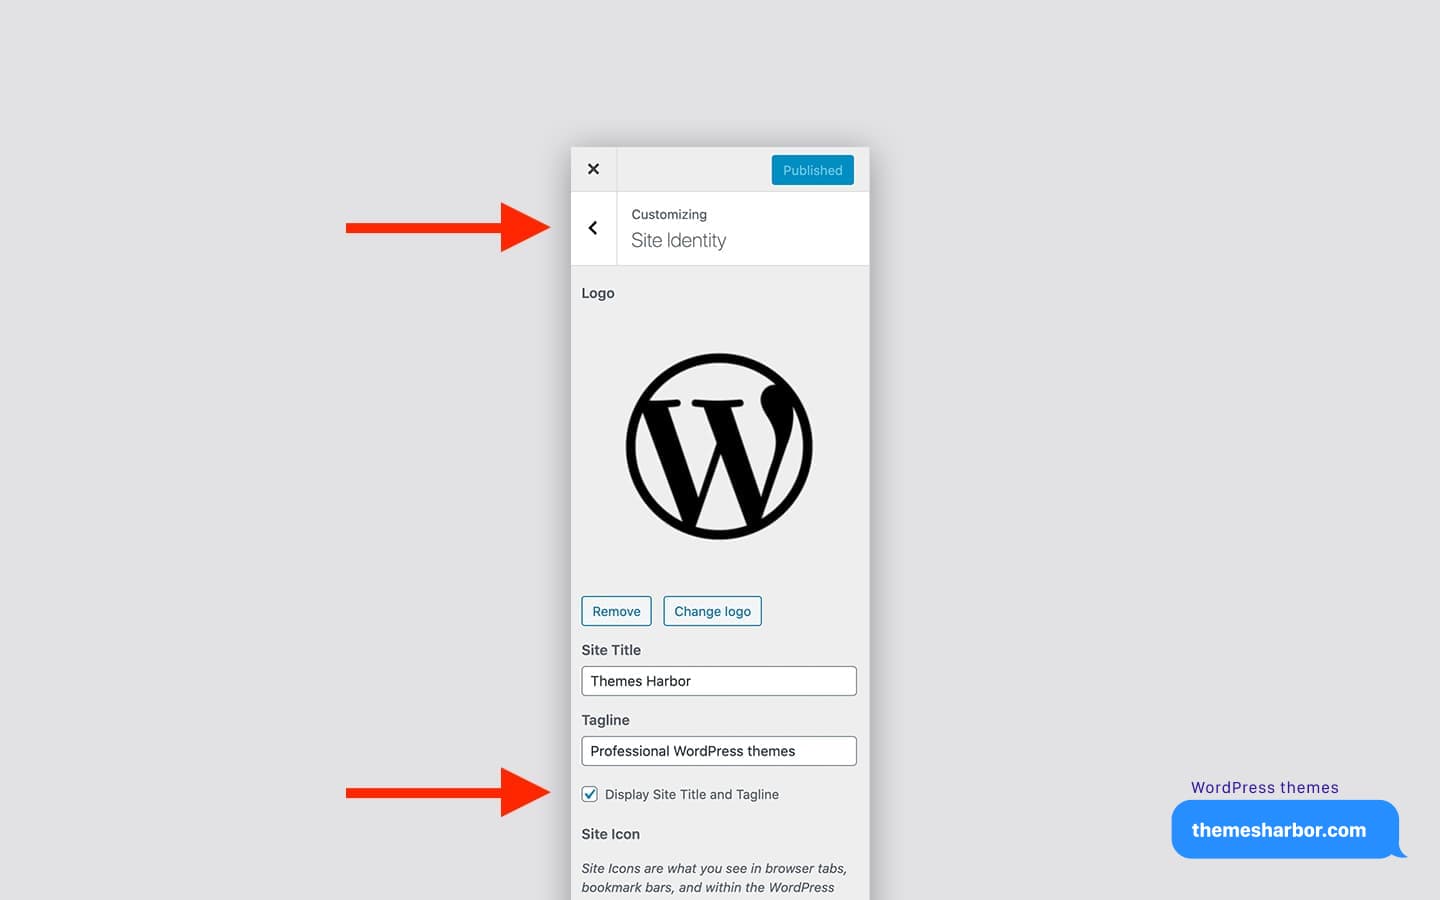
Change or remove logo
After setting a website logo, it is possible to change or remove it using the Remove and Change Logo buttons.
Don’t forget to click the Publish button located at the top right corner to save new logo settings.
Hide Site Title and Tagline
By default, WordPress displays a website logo either above or next to the site title.
However, it is possible to hide the site title and tagline by unchecking the Display Site Title and Tagline box.